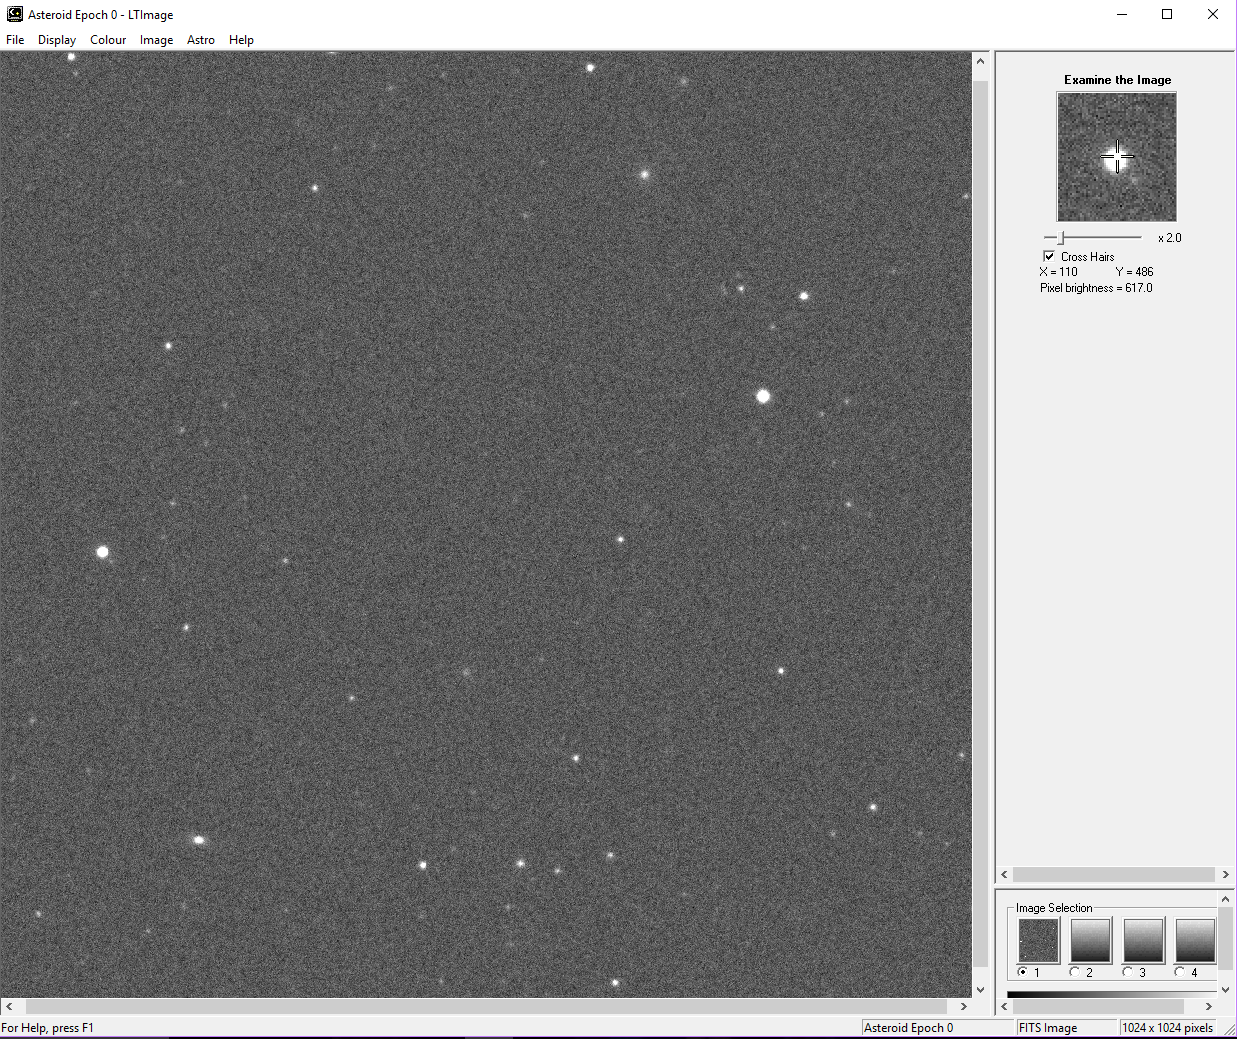
Credit: The Schools' Observatory
Once you have found the NEO in all of the observations by "blinking" them, the next step is to measure the position of the NEO. We need to know the pixel coordinate of it in each image. To find this, you can use the Image Examine tool in LTImage.
Image Examine Tool
To start the tool, go to the 'Image' menu and select 'Examine' in the LTImage software - you should then have a new tool like the one shown on the right here.
NOTE: If you are not sure how to use LTImage, click HERE
If you then move the mouse pointer over the main image and "click" with the left mouse button, the 'Examine' window will show a magnified version of the position you "clicked" on.
If you hold down the left mouse button and move the pointer over the image, the 'Examine' window will follow it.
Getting the position

Credit: The Schools' Observatory
To get the position of the NEO, move the mouse pointer until it is right under the "Cross Hairs" on the Examine window.
You will then be able to write down the X and Y coordinates of that position. For example, the object in the image on the right has a position of X=652 and Y=497.
Repeat for all the data
You then need to repeat the measurement for all the observations - remember to write down all your results!
The real thing!
Now that you have got the hang of that with the practice observations, you are now ready to download some of the observations we are taking of real Near Earth Objects that we need to know more about.
